![]()

"Pls Note: Kiaan DigiMedia is a unit of EWS Net Pvt. Ltd."


![]()
![]()
![]()
![]()
![]()
Web Services
 Website Designing
 Web Development
 Internet Marketing
 E-commerce Solutions
 Multimedia Graphic Design
 Web Hosting Services
 Domain Registration


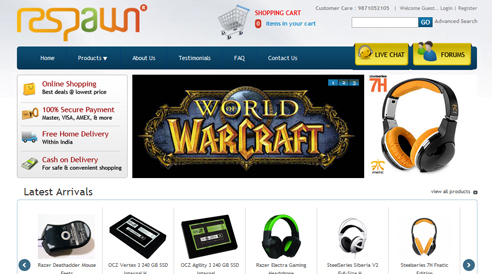
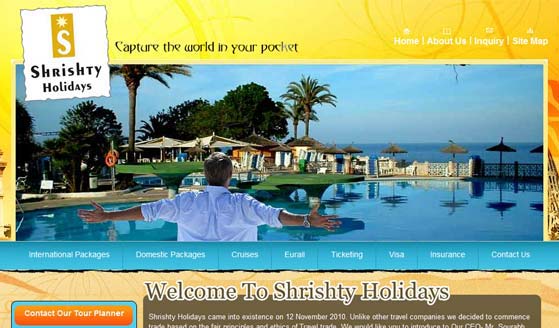
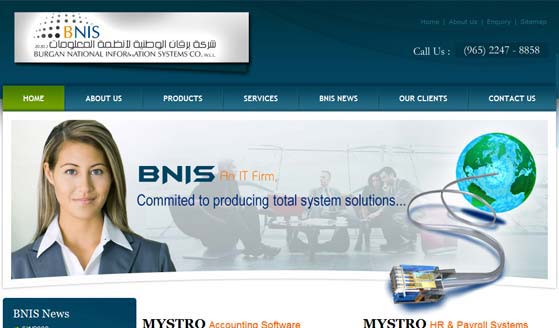
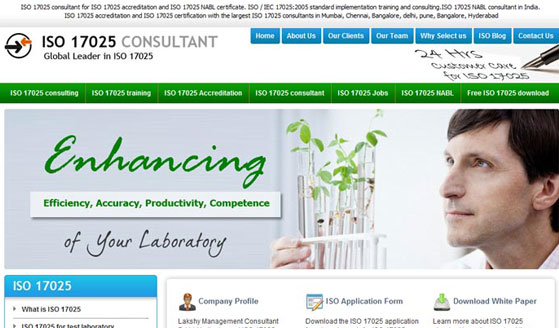
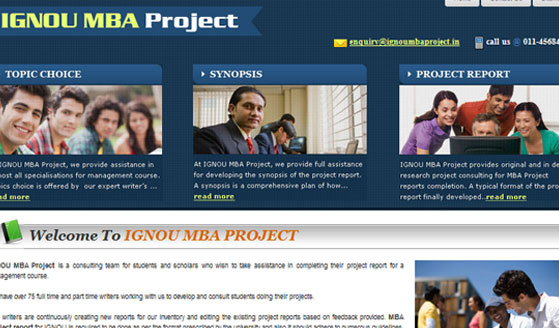
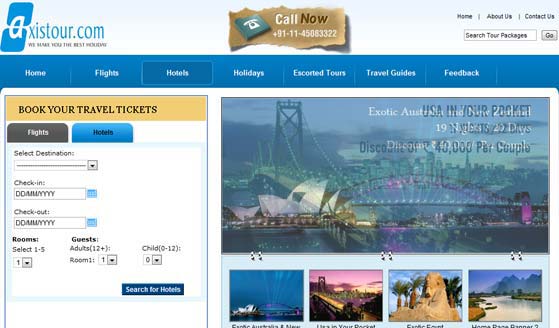
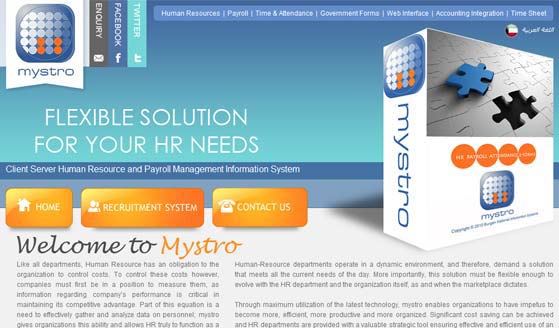
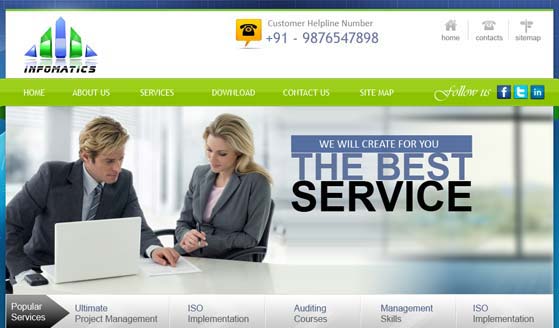
Our Portfolio


STEPS OF CONFIGURING ID IN MICROSOFT OUTLOOK
1.tools
2.e-mail accounts
3.add a new e-mail accounts
4.next
5.POP3 then click on next
6.user information
your name : Which you want as a display name (IT WILL BE THE DISPLAY NAME)
e-mail address : which you want
7.server information
incoming mail server(pop3) : mail.domain-name.com
outgoing mail server(smtp) : mail.domain-name.com
8.Logon information
user name : user-name@domain-name
password :
9.check ON remember password
10.click on MORE SETTINGS
11.mail account : mail.elkindia.com (by default it will come....let it be as it is)
12.other user information
reply e-mail : user-name@domain-name
13.click on outgoing server(next to general)
14.check ON my outgoing server(SMTP) requires authentication
15.then check ON use same setting as my incoming mail server
16.click on advanced
incoming server(pop3) : 110
outgoing server(smtp) : 25
17.then click on OK
18.next
19.finish
STEPS OF CONFIGURING EMAIL ID IN OUTLOOK EXPRESS
1.TOOLS
2.Accounts
3.Mail
4.Add
5.Mail
6.Dispaly Name : like: sales@ , info@....etc
7.Next
8.E-mail Address : type the mail ID like: sales@ , info@....etc
9.Next
10.POP3 : mail.domain-name
SMTP : mail.domain-name
11.Next
12.Accounts Name : User Name@domain name
13.Password : Type the password
14.Next
15.Finish
INTERNET ACCOUNT
1.mail
2.Select the mail Id,which you have recently added
In generals..it is automatically Selected
3.Properties
4.General
5.Reply Address: Copy the mail ID & paste the same on the reply address
6.Click on INCLUDE THIS ACCOUNTS WHEN RECEIVING or SYNACHRONIZING
7.Server
8.Password
9.Click On SERVER REQUIRES AUTHENTICATION
10.Apply


Website Designing | Web Development | Internet Marketing | Ecommerce Solutions | Multimedia & Graphic Design | Web Hosting Services | Domain Name Registration


Home | About Us | Services | Portfolio | Contact Us | Get a Free Quote | Support | FAQs | Testimonial | Sitemap
Copyrights @ 2024 by EWS Net Pvt. Ltd. | Website Designing Company in Delhi, India